
Upload a photo or sketch of your bag and redesign it in plain words: colour blocking, leathers, panels, seams and background. Each version takes about 30 seconds and keeps your bag’s shape.
Drop a photo or sketch of your bag here
JPG, PNG or WebP • large photos are resized automatically
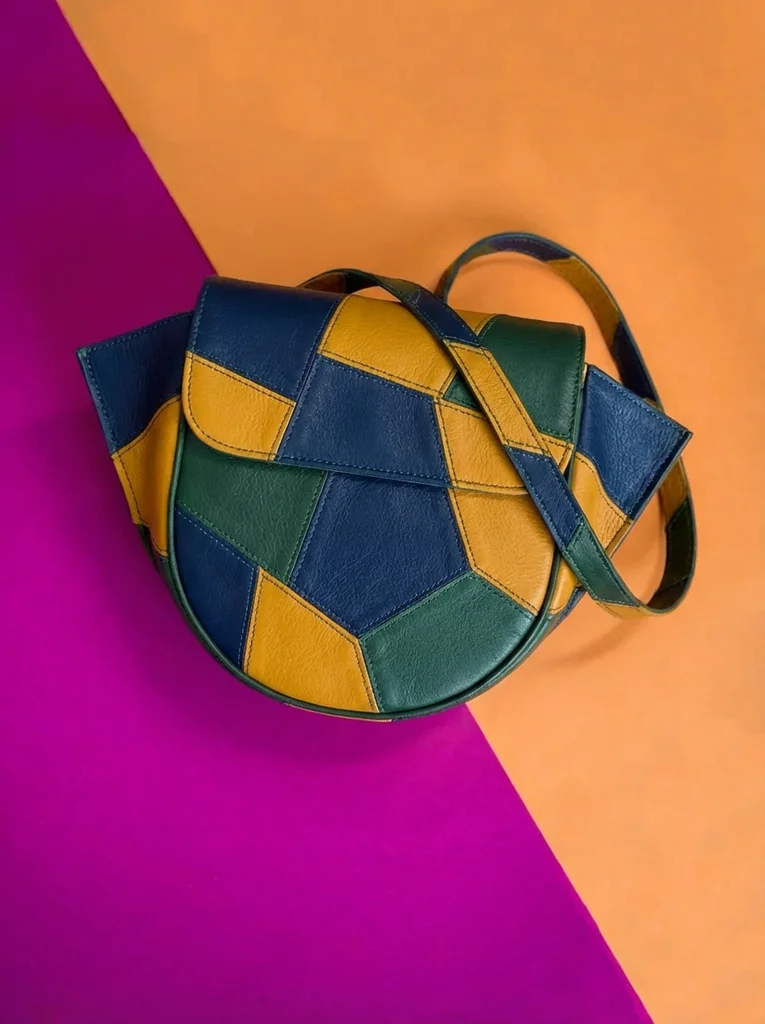
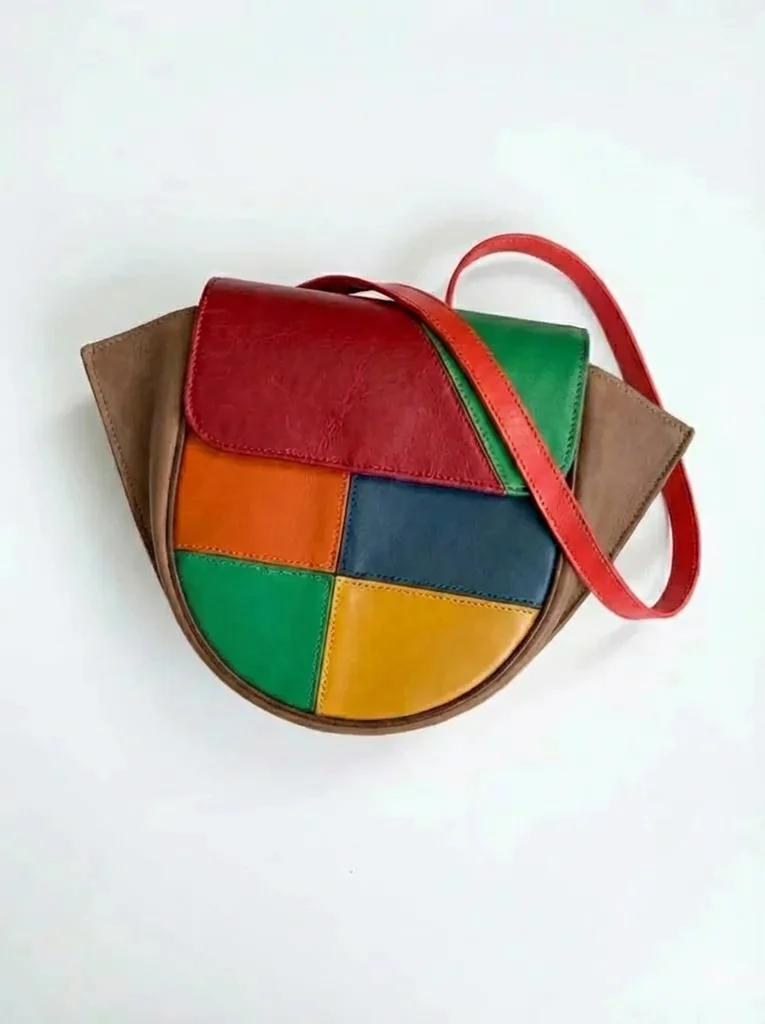
A bag maker’s real P20V session: each pair is the image before an instruction and the result after it.
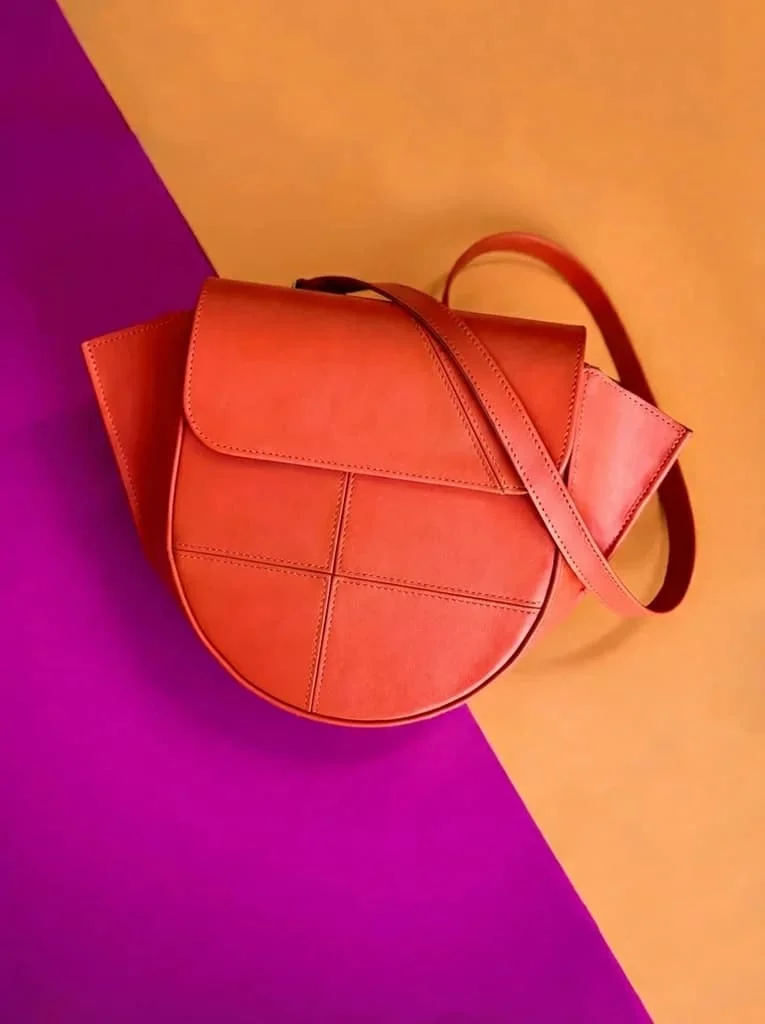 Before
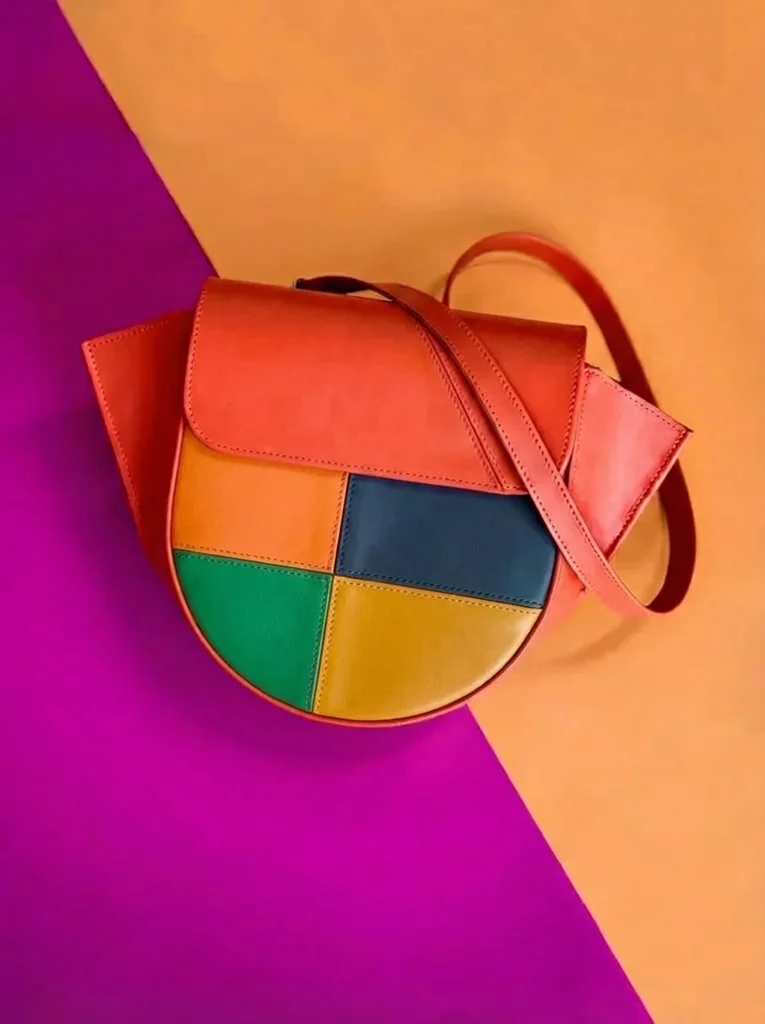 After
After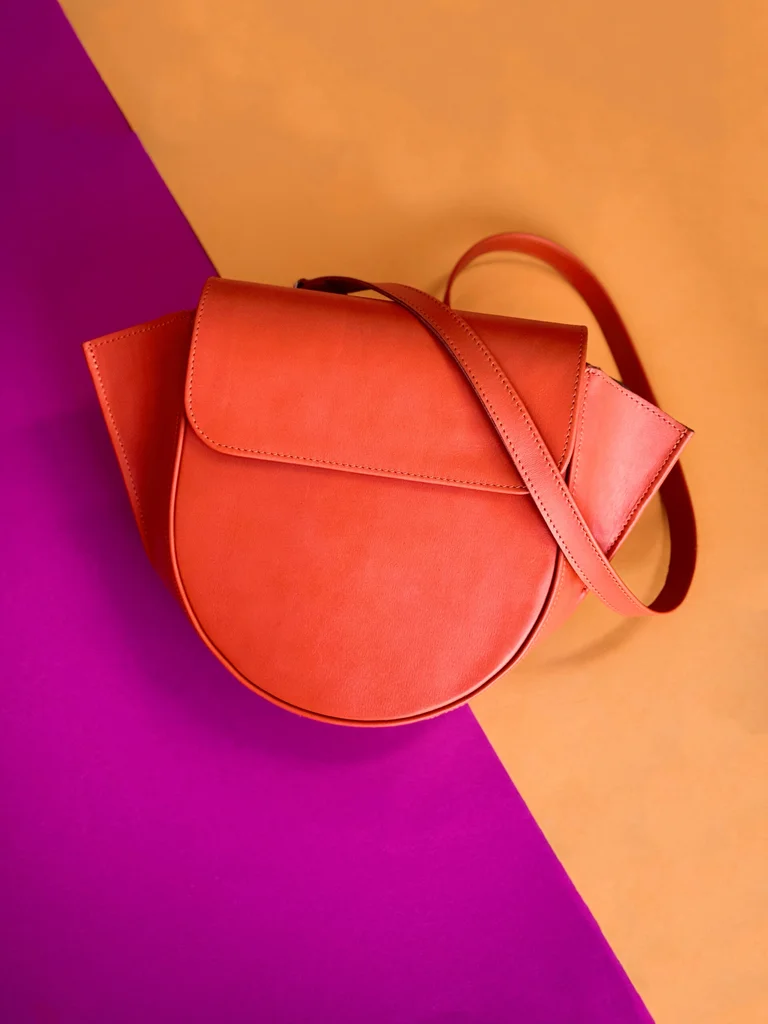 Before
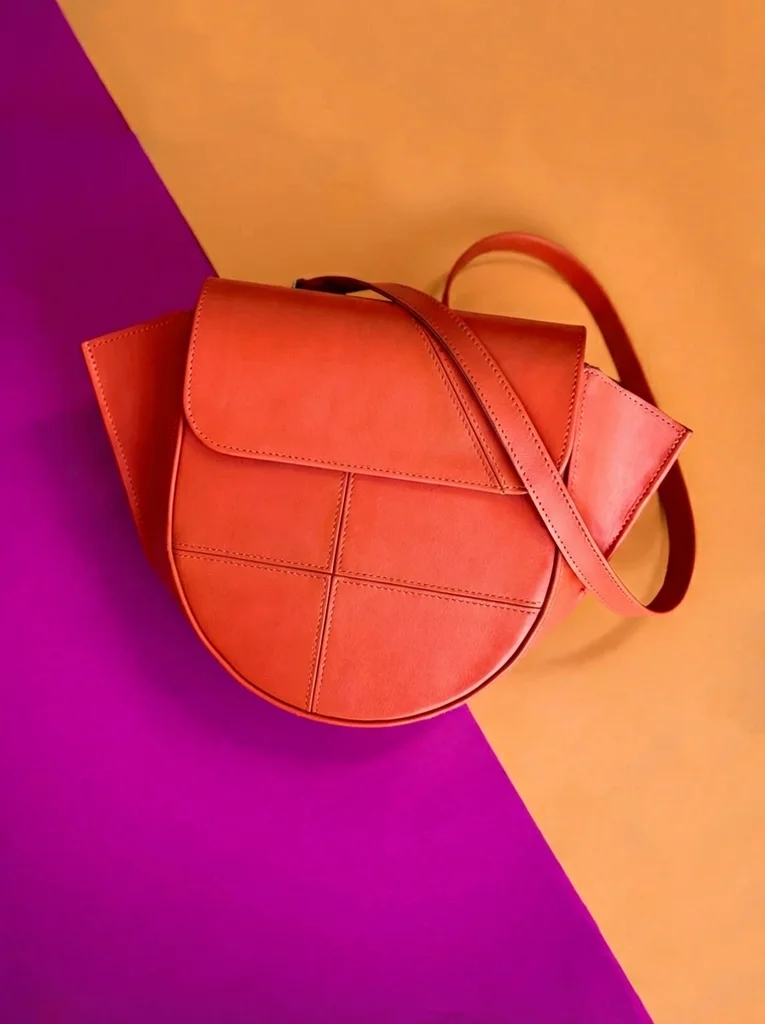 After
After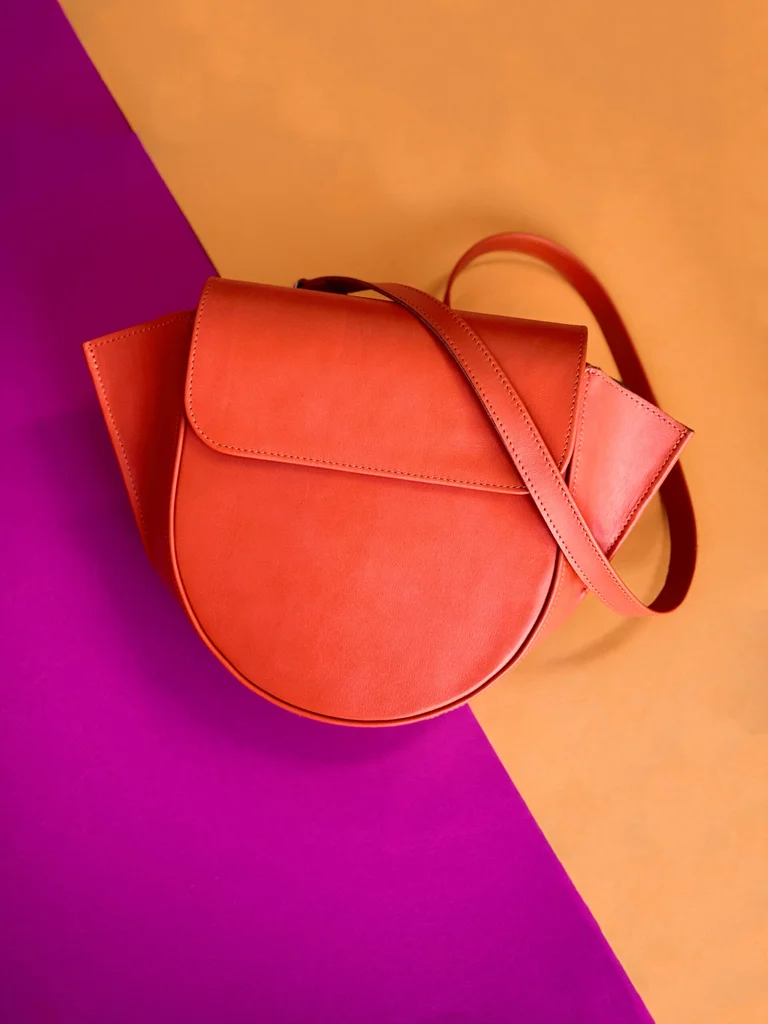 Before
 After
After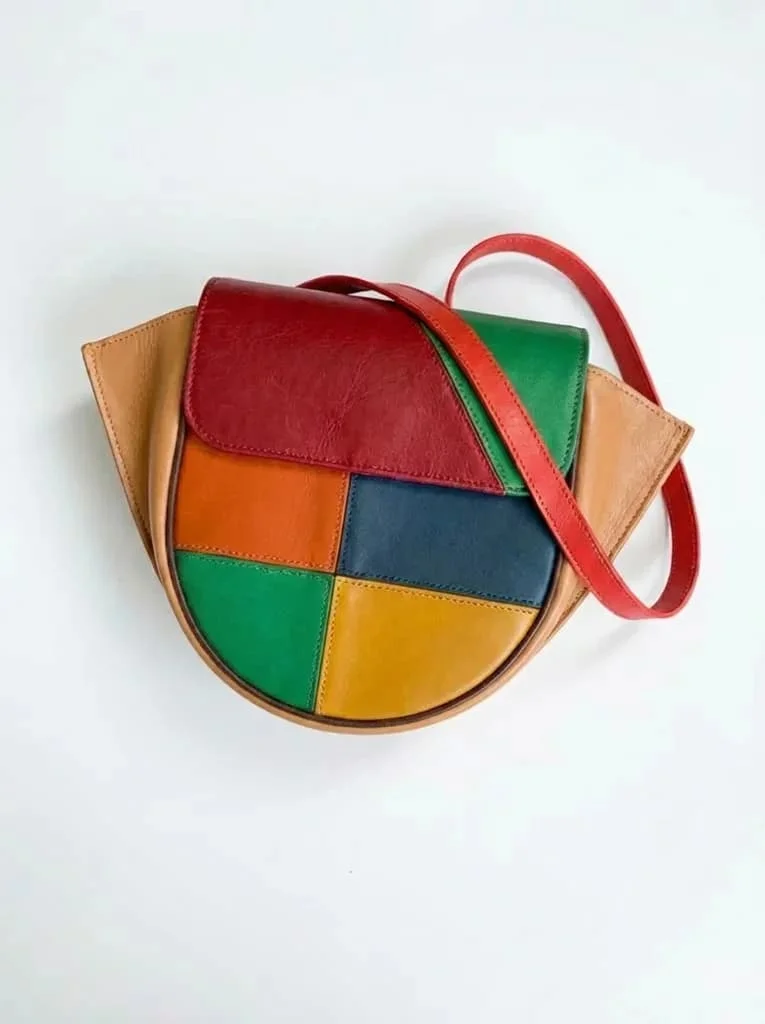 Before
 After
After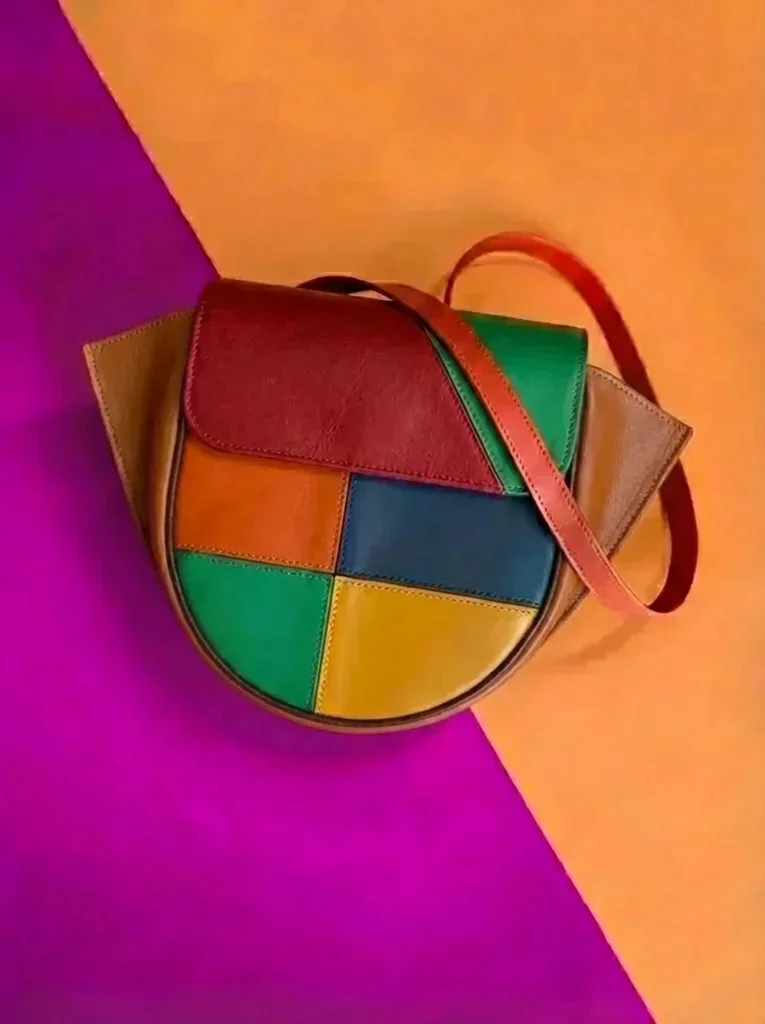 Before
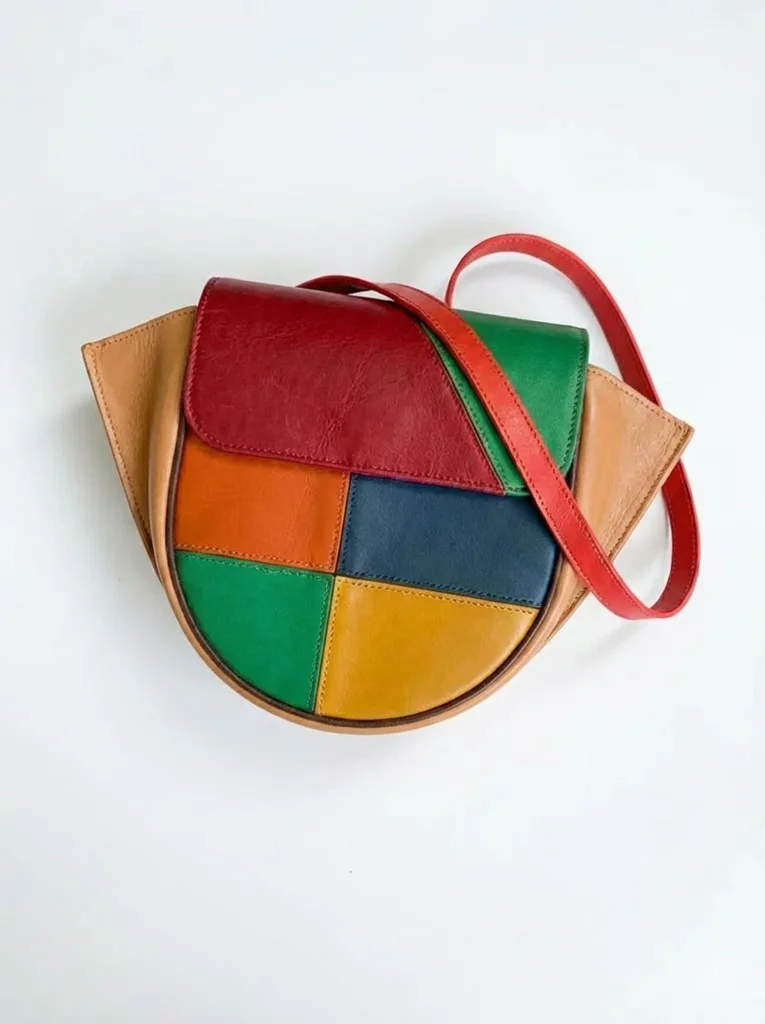 After
After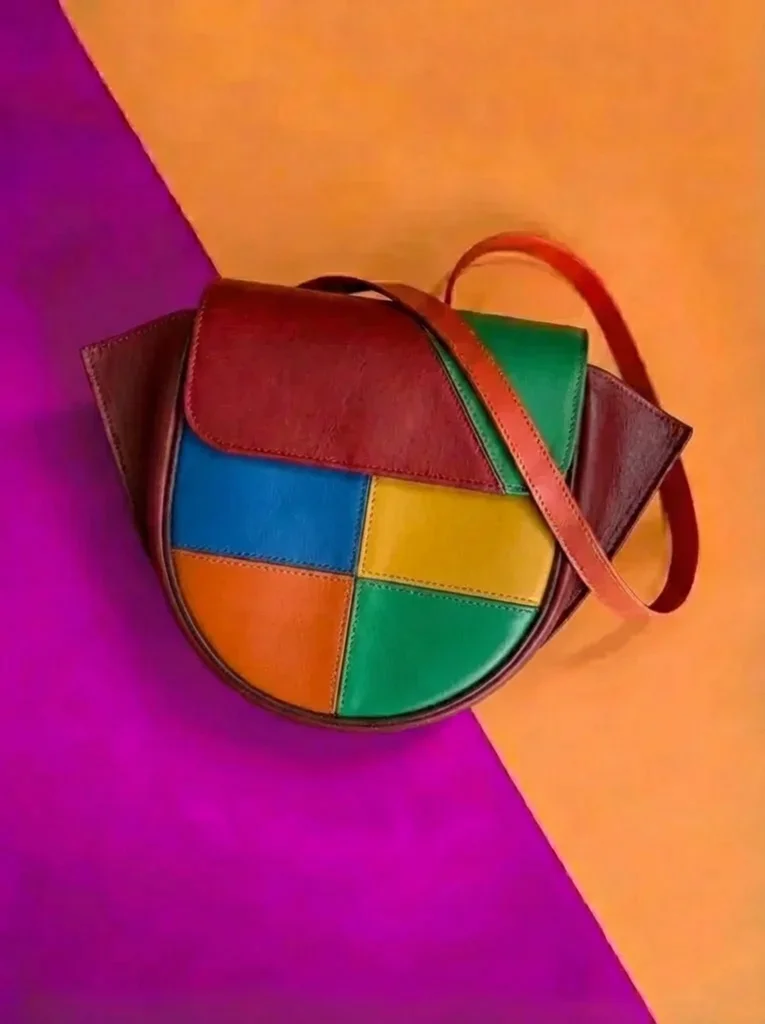 Before
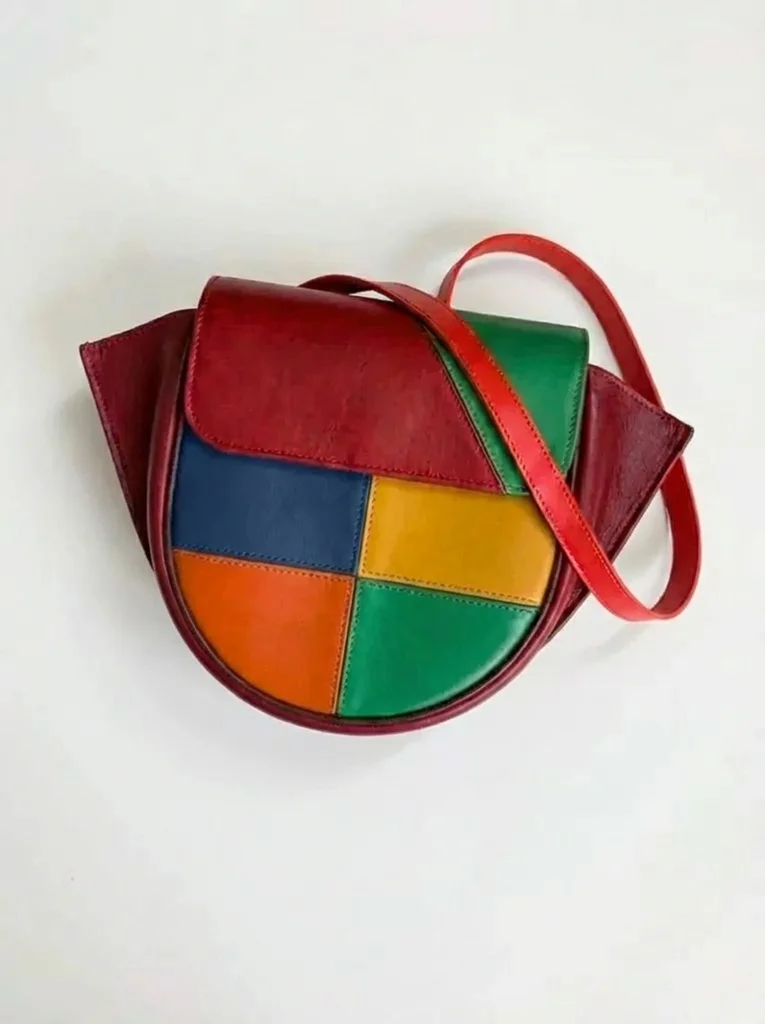 After
AfterReal uploads and results that a P20V user shared publicly. No retouching.
Every new colourway of a bag normally costs a sample: leather, hardware, a day of work, and often a week of waiting. Many of those samples only exist to answer a simple question — does dark red work next to this blue? The handbag designer answers it from a photo of the bag you already have.
The examples above show how a bag maker actually used it: starting from one plain orange shoulder bag, the maker split the body into four panels, moved seam lines by degrees, swapped the gusset leather three times and ended with a clean white-background image of the final combination. Each step was one sentence and about 30 seconds.
Typical jobs:
Name the part, the material and the finish: "make the sides dark rich brown leather, matt", "the top right green part becomes dark red, same red as the body", "make the line between the yellow and green parts 12 degrees steeper". Say what must stay: "keep the strap and the flap exactly as they are". If a result moves too much, go back one step and split the change into two instructions.
For shoes, watches, jewellery or furniture, the tools below use the same editor with prompts set up for those products. For bags worn on a model, the apparel tool places your product on a person.
Drop a photo of your sample or a sketch of the bag into the box above (JPG, PNG or WebP).
Write which part changes and how: colour, leather, panels, seams, hardware or background.
Each version takes about 30 seconds. Keep the ones that work and download them for sampling, customers or your shop.
Basic is $9.99 per month for 25 images; Starter is $29/month for 50 images ($14.50 for the first month), Pro $79/month for 200 images, Studio $199/month, billed in USD. EU buyers pay VAT on top; no tax is added outside the EU. Every plan includes commercial use, so you can show the designs to customers and print from them. Cancel anytime. See plans
It changes the design of a bag in a photo or sketch you upload. You describe the change in plain words — colours, leather, panels, seams, hardware, background — and in about 30 seconds you get the same bag with that change, photographed the same way. Then you keep going until the design is right.
Yes, that is what most bag makers use it for. Upload a photo of your sample or prototype and say exactly which part changes: "sides in dark brown leather", "top right panel dark red", "handle the same blue as the body". The examples above are one maker’s real session: one bag, a dozen colour and panel versions, then a white-background image of the chosen one.
Yes. The silhouette, the flap, the strap and the stitching stay as in your photo unless you ask to change them. Be specific about the part you mean ("the gusset", "the flap", "the lower half of the body"); the more precise the instruction, the less the rest of the bag moves.
Yes. Upload a sketch or a flat drawing and the tool renders it as a real bag in leather or canvas. You can also upload a photo of the bag plus a second image with a line drawing, as in the second example, and ask the tool to apply the lines to the bag.
Not on P20V. Basic is $9.99 per month for 25 images; Starter is $29 per month for 50 images and its first month is $14.50. Every plan includes commercial use, so the images can go into a line sheet, a pre-order page or a product listing. Cancel anytime.
No. The output is an image. It is for deciding colours and panels, showing a customer or a buyer the options, and making product images; the pattern pieces and the tech pack for your workshop are still made separately.
Use your own designs. You can upload a reference photo for inspiration, but the images you sell or publish should show your own product and your own brand.
JPG, PNG or WebP up to 5 MB. A phone photo of the bag on a plain background gives the cleanest results.
The same editor, set up for each kind of product. All tools